Onimusha: Way of the Sword Walkthrough
Last verified: Sep 4, 2026 · Release-day edition
The story of Onimusha: Way of the Sword runs from a blood-soaked stage at Kiyomizu-dera to the final clash at Rendaino. This walkthrough follows the main path area by area, notes every boss gate and important unlock, and flags the one point of no return before the finale.
How the Story Is Structured
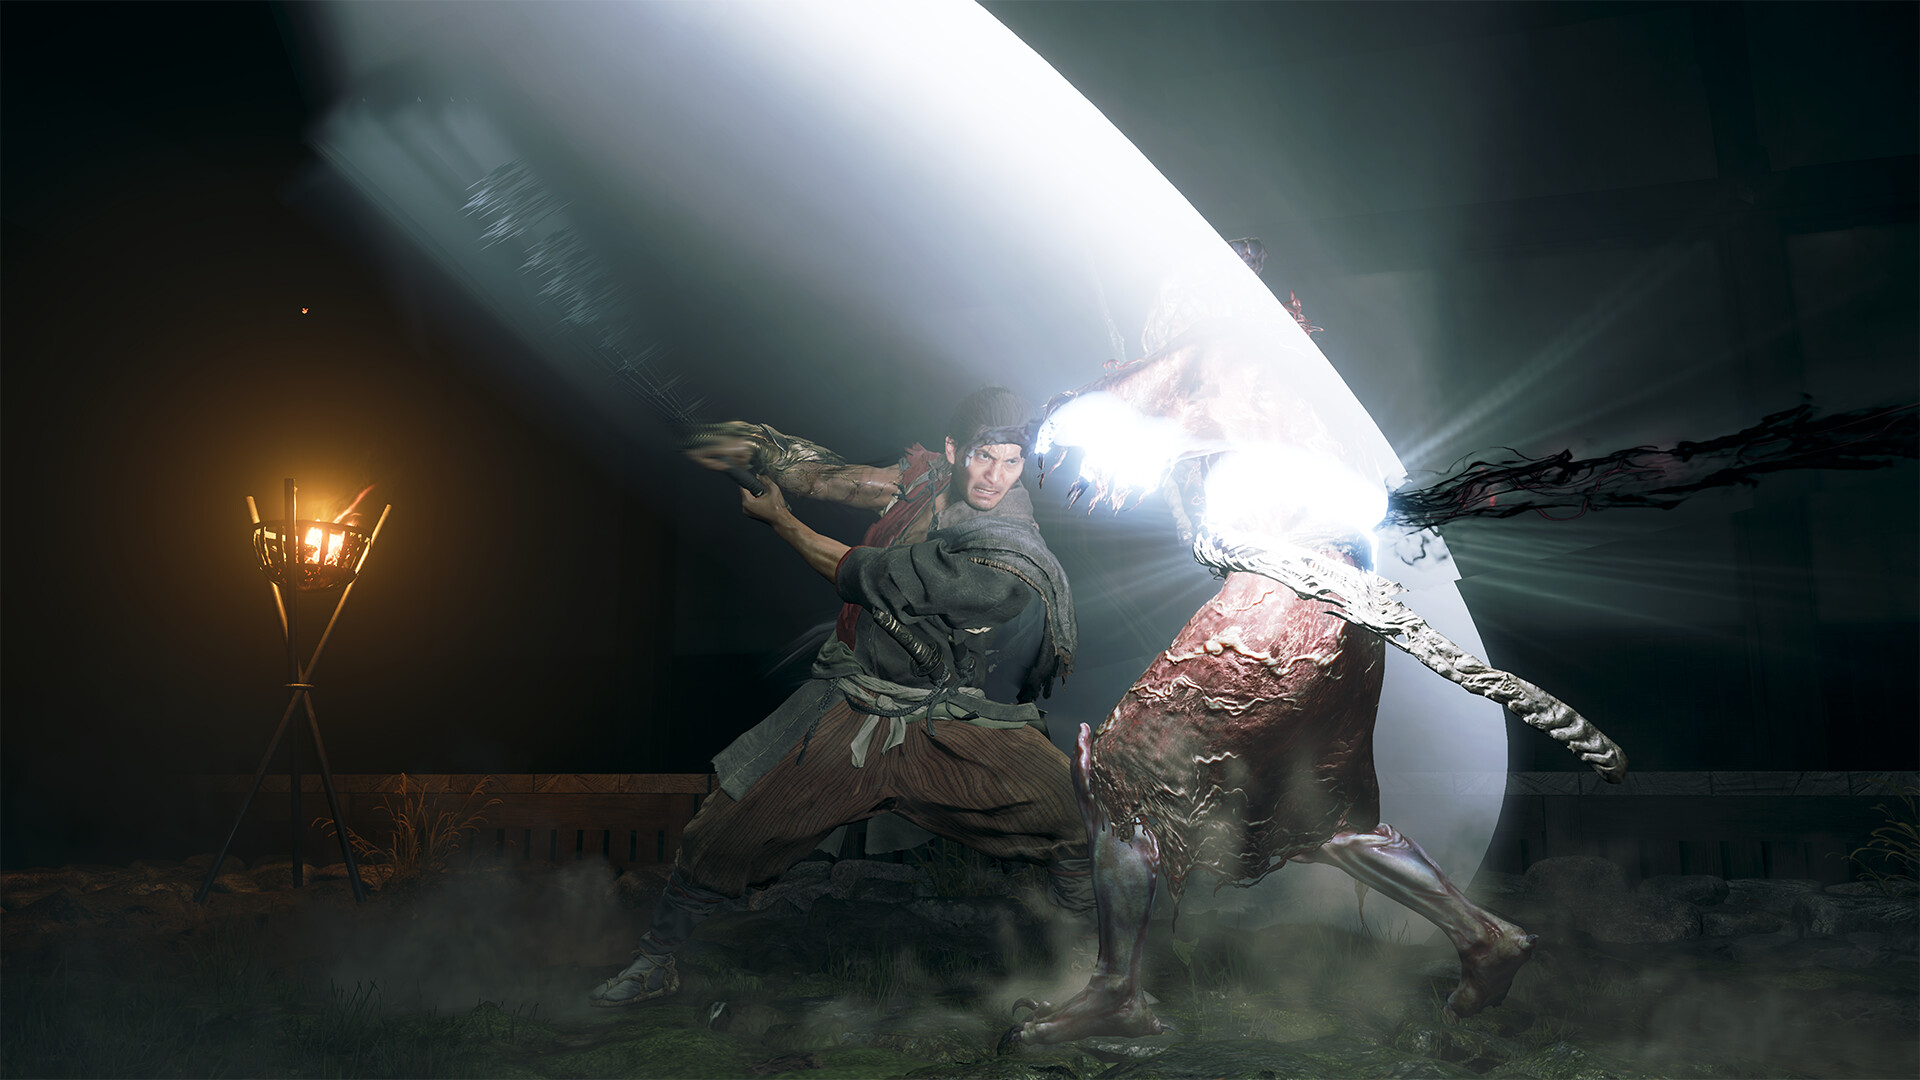
Way of the Sword is mission-based. Each chapter sends Musashi to a district of Kyoto or a nearby location, where he seals demonic "prison windows" (獄窓), destroys the miasma plants that spawn Genma, and pursues the story toward its next boss. Between missions you return to the Rokudou Chinno-ji temple, the game's hub, where characters such as Ono no Takamura and Izumo no Okuni advance the plot and where you upgrade equipment and skills.
Two things shape the whole run. First, new powers unlock new routes: the Eye Awakening (Oni Vision) reveals hidden passages, Arm Awakening (Oni Strength) breaks demonic barriers, and Leg Awakening (Oni Agility) opens wall-run routes — so districts you cleared early are worth revisiting after each upgrade. Second, nothing is permanently missable: you can free-roam and clean up all side content until the point of no return before the final mission, and Continue after the credits places you back before that mission.
Use your first playthrough to learn defensive timing rather than rushing. Action Prompts can be turned off in the settings, and doing so early forces you to read enemy attacks — the same skill Carnage difficulty demands later.
Chapter 1 — Kiyomizu-dera & the Oni Refuge
The game opens in a tutorial at the Kiyomizu-dera stage, where Musashi is drawn into the fight against the Genma. He follows Ono no Takamura, meets Izumo no Okuni, and learns the basics of swordplay on the way to the main hall. This first stretch teaches the core loop: light and heavy attacks, guard, parry, Deflect, dodge, and the first Issen prompts.
Two major unlocks arrive in this chapter. Musashi obtains the Two Celestials, his first Oni Armament, and gains the Eye Awakening, which lets him see hidden oni doors and treasures. The chapter closes with a duel against Sasaki Ganryu on the Kiyomizu-dera stage — the rival swordsman whose own gauntlet makes him a genuine threat. Break his stamina with parries and punish him with light attacks; when his hat comes off, evade his jumping kicks and counter his grabs.
After the duel, the Eye Awakening reveals the path to the Oni Refuge beneath the temple. Working through the refuge's depths, Musashi finds the Oni Bow (a story-required armament) and faces Daidara, a towering Genma. Daidara's gimmick is soul collection: souls left floating in the arena are absorbed by him and enrage him, so collect orbs quickly, dodge his kick and heavy slam, and parry the cleaver swings to break his stamina.
Chapter 2 — The Kennin-ji Whirlwind
Back in Kyoto, the Genma corruption spreads. Musashi seals prison windows across the eastern district (Rakuto), reporting to Ono no Takamura at Rokudou Chinno-ji, where Shizuka Gozen unlocks equipment and ability enhancement. Ringing the bell opens the training hall, and clearing the parry drills rewards the Wind-Whipper armament while introducing the Practice Ground and Boss Rematch features.
The district quest chain leads to a shrine where the stolen guardian statues must be recovered — this is the mission "Be Careful What You Wish For," ending in the fight against Rasho-gan, a false deity built from victims' body parts. His multi-armed attacks throw trees, boulders and buildings; parry the sword swings, evade or deflect his blood bubbles, and punish his grab lunge by evading into him. Defeating him grants the Arm Awakening (Oni Strength), which breaks the demonic barriers blocking new paths.
The chapter also introduces the Byakue, a white talisman-clad beast, fought at Kiyomizu-dera after sealing the prison window at Kiyomizu Slope. Later, Okuni sends Musashi to find Hozuki Pouch materials in an abandoned temple ("Patching up the Pouch"), improving healing capacity. The chapter ends inside Kennin-ji, where Ifuu awaits — a duel that rewards patient Deflect timing over aggression.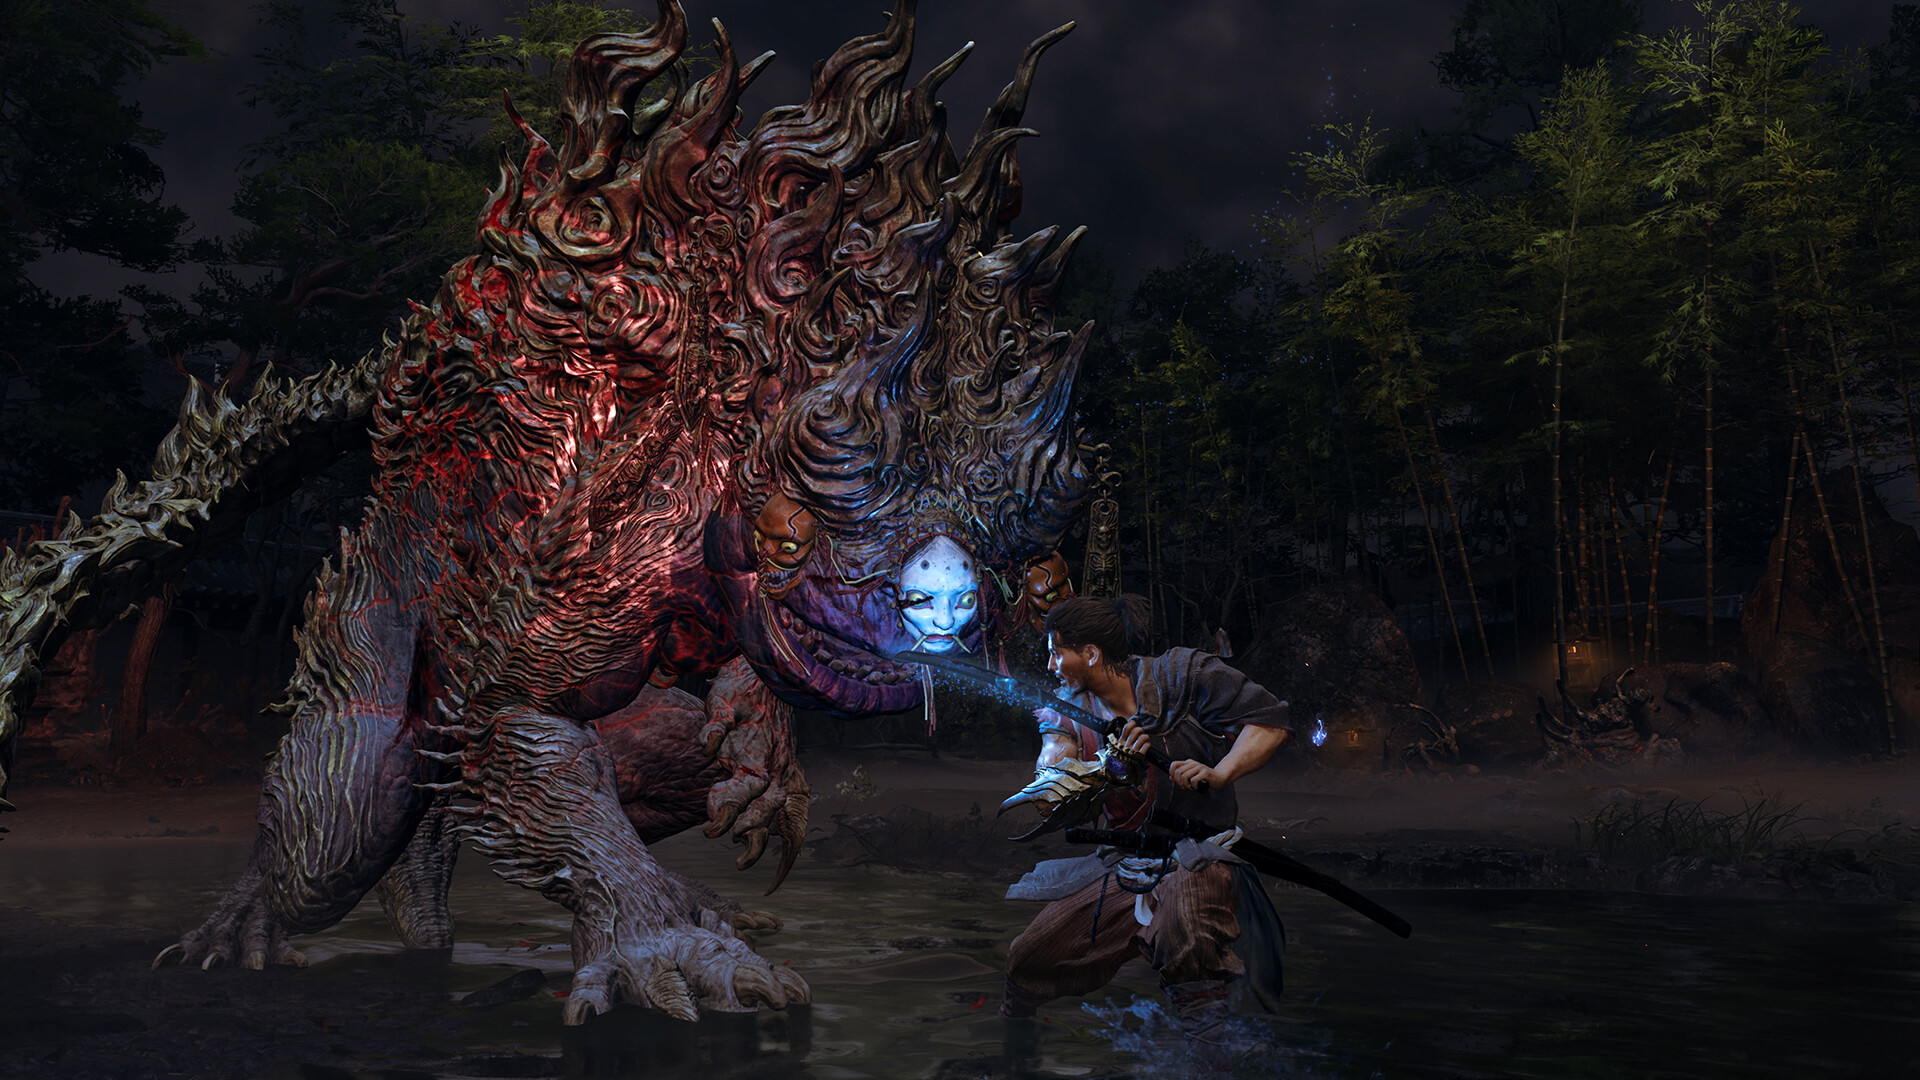
Chapter 3 — Nijo-jo's Cruel Tale
The story moves to Nijo-jo Castle. Investigating the castle gardens leads to the Nue, a chimera-like Genma, and then into the underground laboratory beneath the castle. A key hunt in the laboratory triggers another Byakue encounter before Musashi recovers the Earth-Shakers war hammer armament, which stops the laboratory's mechanisms.
Chasing Dokyo deeper, Musashi faces the paired Nue (Blue) and Nue (Red) — a two-on-one fight that rewards keeping both enemies in view and using the arena. Escaping to the Kyoto Imperial Palace grounds, he confronts the Greater Nue, a far larger and faster version of the earlier fight. The Greater Nue is the chapter's true test: its sweeping patterns demand precise dodging and deflecting rather than trades.
Chapter 4 — Kennin-ji, the Ten-Thousand Thunderclaps
This chapter spreads the mission across several districts. After sealing prison windows in the Toribeno area, Musashi gains the Leg Awakening (Oni Agility), enabling wall-runs and new shortcuts. The Toribeno route ends in a fight with Dohatsu-ten, a devil wielding a massive katana who kicks, teleports in his enhanced state, and punishes distance with projectile slashes that can be deflected back.
Crossing the Gojo Bridge brings the first fight with Benkei, the warrior monk. Benkei is a stamina-check: his heavy swings and grapple pressure punish careless blocking, so the fight is won by deflecting his strikes and punishing the openings. Back in Rakuto, sealing more prison windows uncovers the Firebird Flute armament in the area where the Rift stood during the mission "Shadows Fall."
Chapter 5 — Mount Oe
The mission escalates toward Mount Oe, the demonic mountain to the northeast. Along the way Musashi fights rematches against earlier bosses — Byakue and Dohatsu-ten appear again in the Nakasu sealing missions, and a second encounter with Sasaki Ganryu tests how much his timing has improved.
On the mountain itself, a chest in the castle courtyard cave yields the Flashing Void spear armament. Musashi then pursues a mountain ascetic into the caves, where he faces Dohatsu-ten once more before the chapter's true boss: Shuten Doji, the oni lord of Mount Oe. Shuten Doji's fight is the longest yet — a multi-phase endurance match that demands every defensive tool in the kit, with his enraged states escalating the tempo.
Chapter 6 — Arashiyama
The route turns to the western district of Arashiyama. After another round of sealing missions (including Dohatsu-ten again in Rakuto and a combined Ifuu and Burai fight inside Kennin-ji — the "Storm Chaser" mission), Musashi enters Arashiyama proper.
Reading the stone tablet at the district's depths opens the oni passage. Crossing the great swamp and climbing the tower brings a Byakue fight and the Still Water katana armament in the swamp's northeast corner. The Hozugawa river route then leads to a climactic rematch with Sasaki Ganryu and, immediately after, the pursuit of Dokyo, the chapter's architect. Dokyo's fight is a gimmick duel rather than a slugfest — she spends most of it sprinting around the arena, forcing Musashi to chase, cut off her routes and punish her stops.
Chapter 7 — The Clash at Rendaino (Finale)
Speaking to Ono no Takamura at Rokudou Chinno-ji for the final mission locks out free-roaming in Rakuto. Finish all side content, collectibles and upgrades first — or keep a manual save here. After the credits, Continue places you back before this mission.
The finale is the mission "The Clash at Rendaino." Musashi first defeats Benkei at Rendaino, then ascends Shana-oh Castle to its highest floor. The ascent is a gauntlet of rematches — Daidara, Byakue, the Nue pair, the Greater Nue and Dohatsu-ten all stand between Musashi and the summit.
At the top waits Minamoto no Yoshitsune, the game's final boss and its hardest fight. Bring heavy restoratives, Stimulants and Amulets of Introspection; the battle rewards the same discipline as everything before it — read each attack, choose the correct defensive answer, and convert every opening into stamina damage.
After the Story — New Game+ & Carnage
Clearing the game unlocks Carnage difficulty and New Game+. Carnage is only selectable on a fresh New Game+ file — you cannot switch an existing save to it. The following carry over into New Game+: Awakened Oni abilities, enhanced basic and special skills, Hozuki Pouches and pouch enhancements, items, Charms and charm enhancements, Genma Notes and Lion Dogs. Story progress, Mysteries of Kyoto, Chance Encounters, clothing, sword and gauntlet enhancements, Red Souls and Spirit Mirror unlocks do not carry over.
Clearing Carnage earns the True Onimusha trophy and a weapon that makes the post-game Boss Rematch arena in the Practice Ground far more manageable — the last major hurdle on the road to the platinum. See our trophy guide for the full roadmap.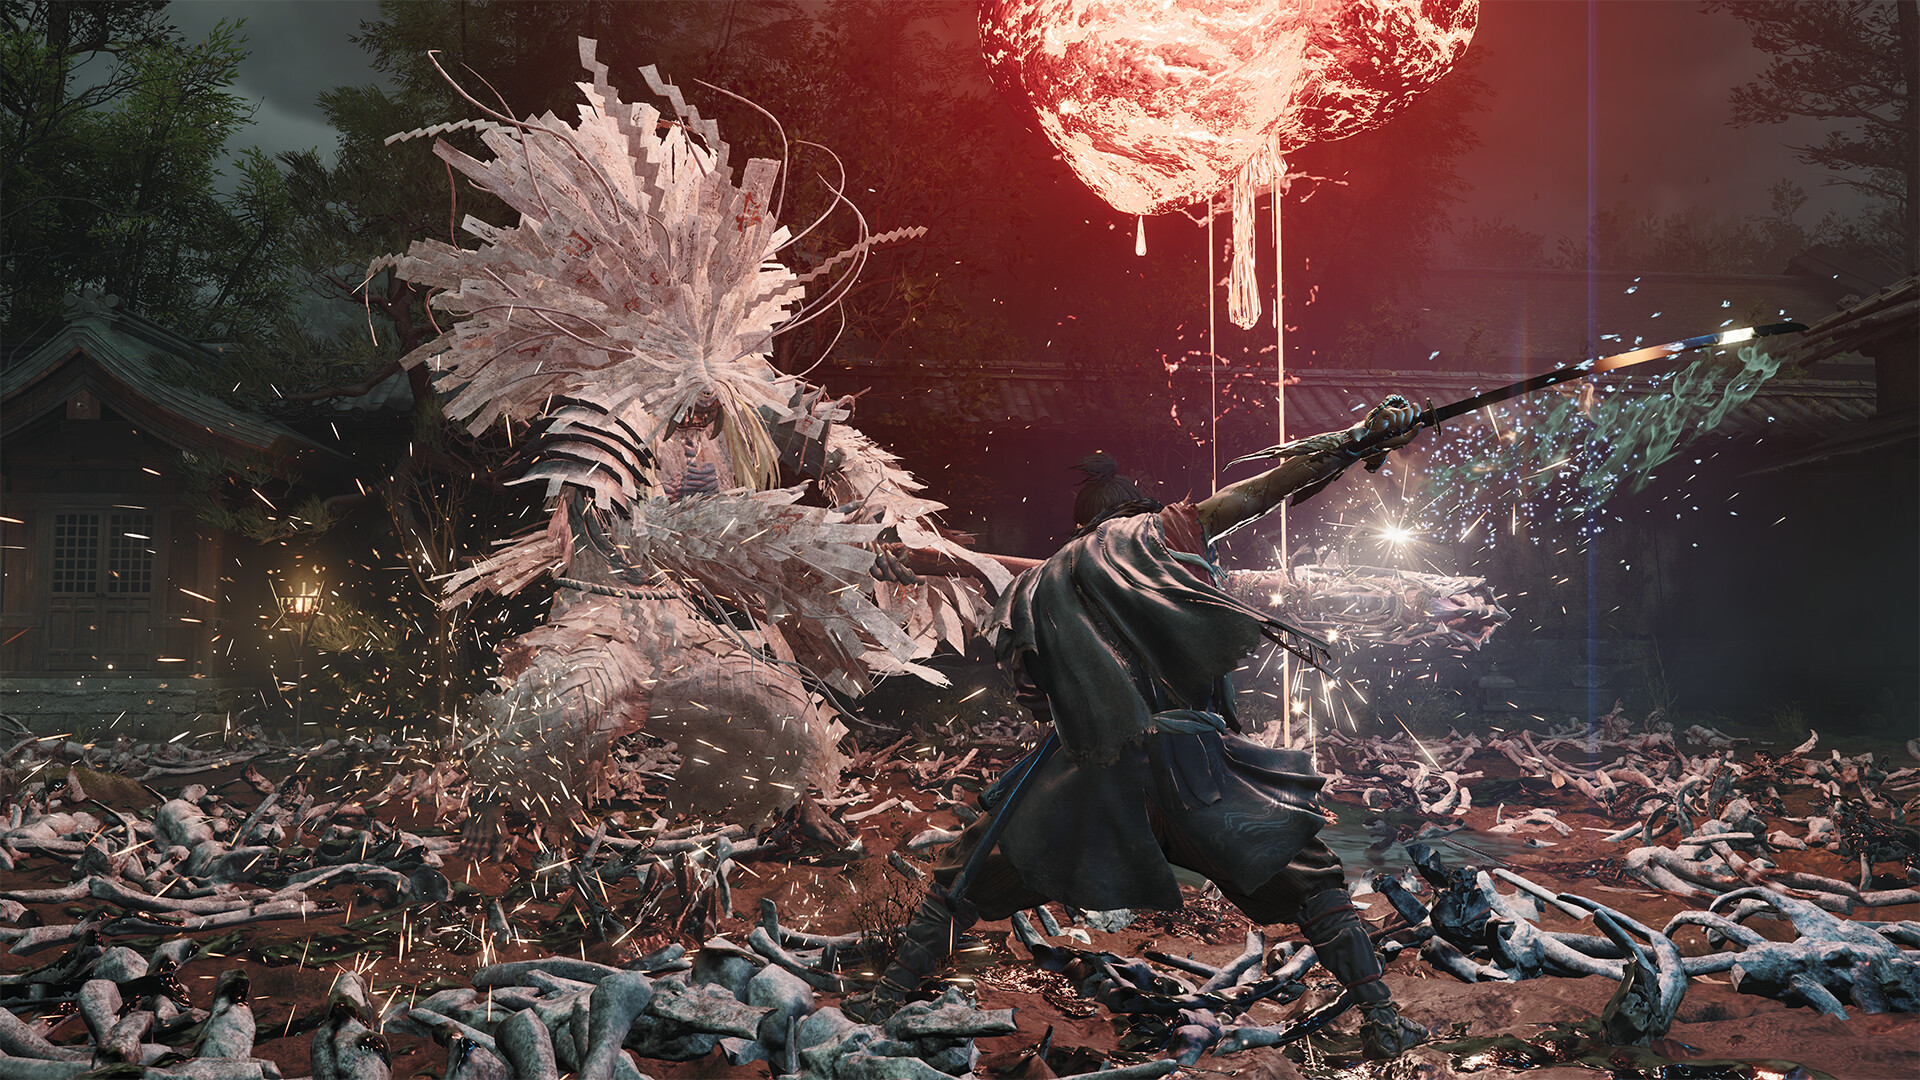
Walkthrough FAQ
How long is the Onimusha: Way of the Sword main story?
Most players finish the main story in roughly 30–40 hours of normal play; a full 100% run with the platinum takes about 60–70 hours across two playthroughs.
What is the point of no return in Onimusha: Way of the Sword?
Starting the final mission, "The Clash at Rendaino," from Ono no Takamura at Rokudou Chinno-ji is the point of no return — free-roam ends there. Nothing is missable, and Continue after the credits drops you back before that mission.
Do I need New Game+ for the platinum?
Yes. Carnage difficulty only unlocks after a first clear and can only be started on a New Game+ file, so two playthroughs are required.
Which Oni powers unlock new areas?
Eye Awakening (Oni Vision) reveals hidden doors, Arm Awakening (Oni Strength) breaks demonic barriers, and Leg Awakening (Oni Agility) enables wall-run routes. Revisit earlier districts after each one.