Onimusha: Way of the Sword Bosses
Last verified: Sep 4, 2026 · Release-day edition
Way of the Sword contains 18 main boss fights. This guide covers every named encounter with the patterns that matter: what to parry, what to dodge, when to push stamina, and how to convert each opening into damage. Bosses are listed in the order they appear in the Practice Ground's Boss Rematch menu — that is a challenge-order list, not a story-order list.
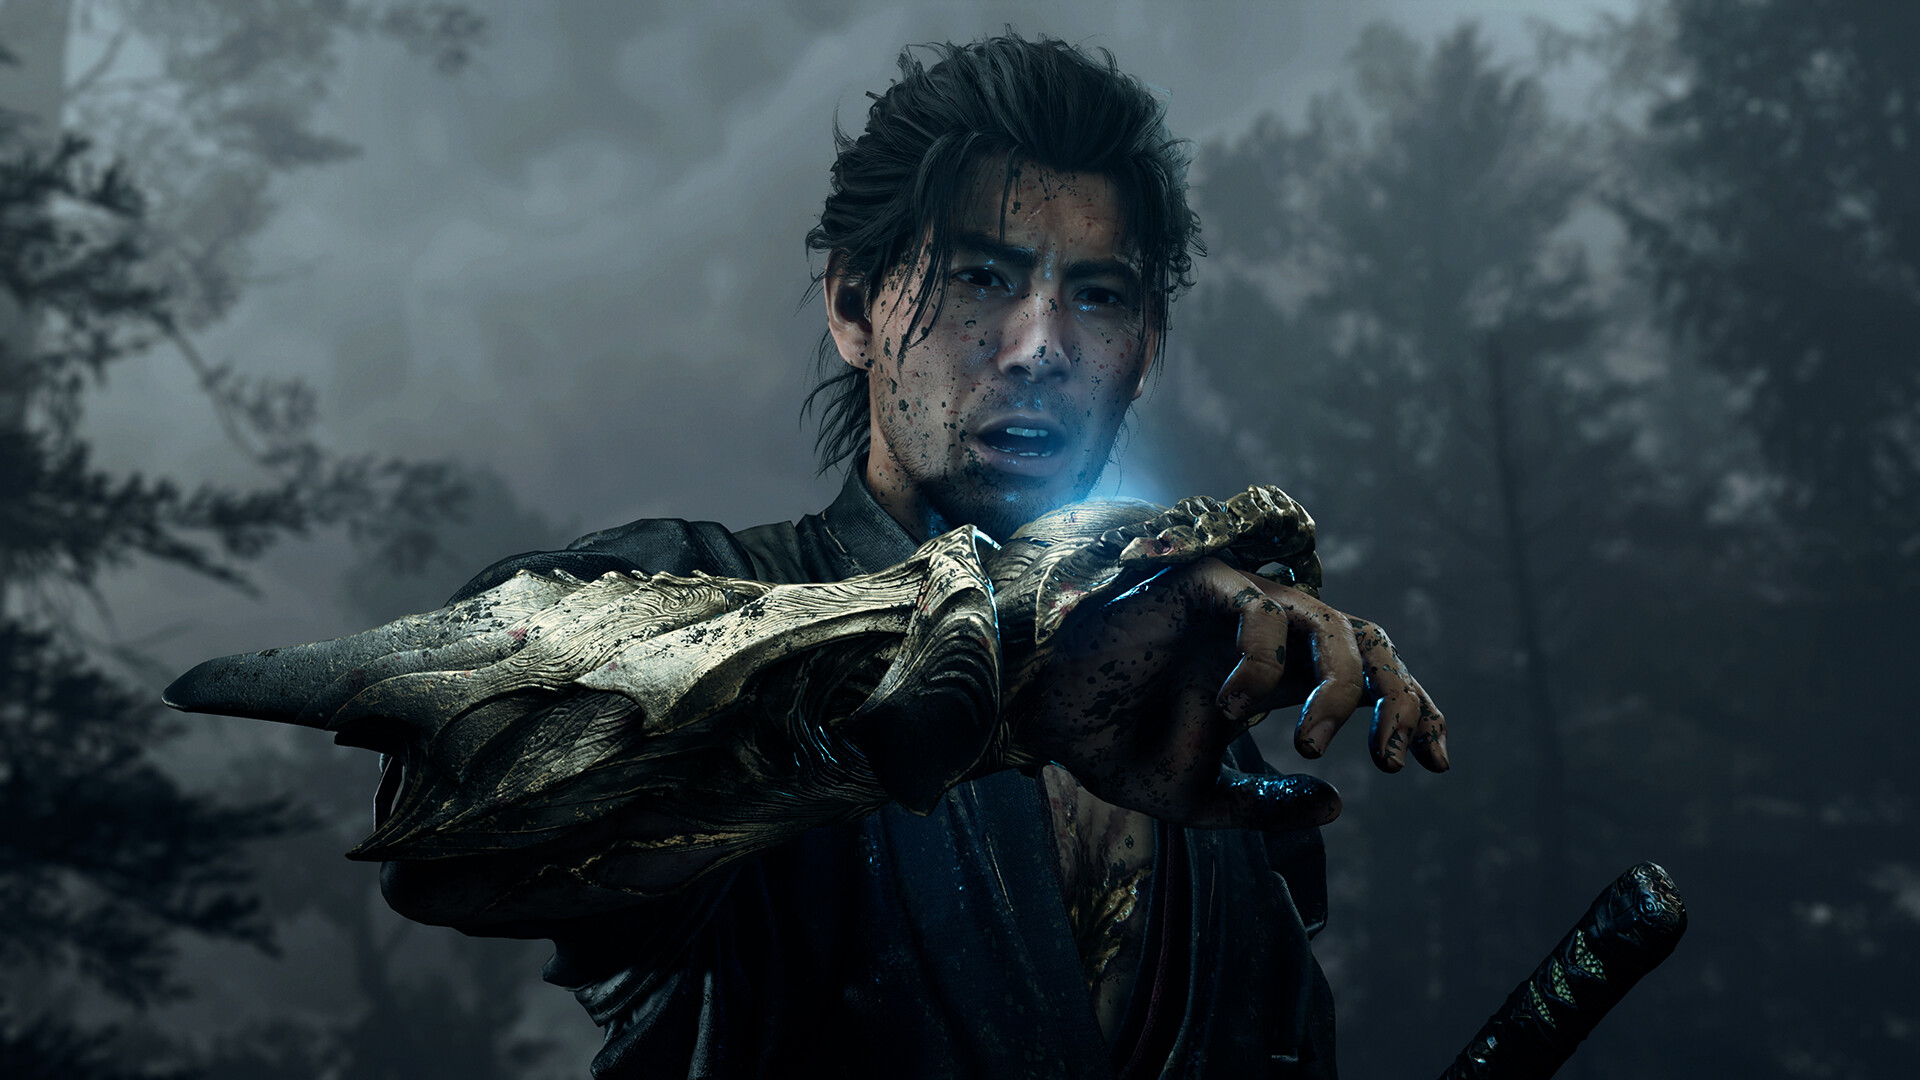
How Boss Fights Work
Almost every boss in Way of the Sword follows the same underlying rhythm, which is why the same preparation works for all of them:
- Read the attack first. Every enemy attack is either parryable, deflectable, or dodge-only. White-glowing attacks can only be dodged. Learn which is which before committing.
- Work the stamina bar. Parries and Deflects deplete an enemy's stamina. Once it is fully drained, Musashi can perform a Break Issen — a decisive follow-up that deals heavy damage to bosses and instantly kills most regular Genma.
- Choose your reward after the break. When a boss's stamina breaks you can take red soul sparkles for direct damage, or purple ones that release yellow (health), blue (Oni Power) and purple (Awakening) souls. Direct damage is the safer pick when you are low on resources.
- Mind the enrage. Bosses slip into enhanced states sooner if you take too much damage early, and their attacks change. Keep pressure up so stamina does not regenerate, but never overcommit.
Master Deflect before you chase Issen. Deflect whittles stamina and leaves bosses open to a riposte with far less risk; Issen is the higher-reward option once its timing clicks. On the hardest difficulty, most fights become: deflect or Issen, drain stamina, siphon souls, repeat.
Byakue (and Enhanced Byakue)
Difficulty ◆◆◇◇◇
The Byakue is a hulking white monster clad in talismans instead of fur, wielding a massive axe. It is fought at Kiyomizu-dera during the story, and again in the rematch arena where the fight is identical in structure. Dodge when it is not swinging and deflect when it is; once the timing is learned, nearly every attack can be answered with Issen. The exceptions are its shoulder charge and sprinting charge — dodge those. It occasionally lashes out with its talisman hair in a blue attack; time your counter just before the hair makes contact.
The Enhanced Byakue adds one wrinkle: below 50% health it wreaths its axe in Malice, then either slams it into the ground (jump right before impact) or spews pools of Malice that you must avoid entirely. Everything else about the fight is unchanged.
Dohatsu-ten (and Enhanced Dohatsu-ten)
Difficulty ◆◆◆◇◇
Dohatsu-ten is a devil wielding a massive katana. Beyond standard deflectable attacks, it loves kicking straight at Musashi's face — answer with a perfect dodge, or parry/deflect at the cost of some stamina. At certain points your attacks will seem to do nothing; that is the cue to break its defense instead of swinging. White-glowing attacks can only be parried or deflected, and it shouts before launching them. At range it hurls sword slashes that a well-timed Deflect sends straight back.
In its enhanced state it teleports rapidly around the arena, each teleport ending in a deflectable attack — sometimes with its weapon wreathed in Malice. If too much distance opens up, it closes with a dash into a devastating slash, which can also be deflected.
Nue (Blue) and Nue (Red)
Difficulty ◆◆◆◇◇
A paired fight against two chimera-like Genma encountered beneath Nijo-jo Castle. Keeping both in view is the core challenge; the arena gives room to separate them, and the fight becomes manageable by focusing one down while using Deflect to punish the other's lunges. Their colour-coded attacks telegraph which one is about to act, so treat the fight as a rhythm problem rather than a brawl.
Sasaki Ganryu (and Altered Ganryu)
Difficulty ◆◆◆◇◇ · Altered ◆◆◆◆◆◆◆◇◇◇
Ganryu is Musashi's rival, first fought at the Kiyomizu-dera stage at the end of the tutorial and again later in the story. In the first duel he attacks with his own gauntlet; keep parrying his attacks and punish him with up to three light attacks to break the red bar beneath his health, then land the Issen. If you do not apply pressure he stops attacking and his stamina recharges. When his hat comes off he starts throwing jumping kicks and grabs — evade the kicks, parry the sword strikes, and counter the grabs.
The Altered Ganryu rematch is a major difficulty spike (the hardest non-final rematch). His timing is faster and his mix-ups are wider; this is a fight to win with disciplined Deflect and dodge work rather than aggression.
Daidara
Difficulty ◆◆◆◇◇
Daidara, fought in the Oni Refuge, turns soul absorption into an immediate contest: orbs left floating in the arena are absorbed by the towering Genma, enraging him and making him faster and stronger. Collect souls quickly, dodge his kick and heavy cleaver slam, and parry the circular cleaver swings and charging attacks to drain stamina. Aim damage at his legs to break the armour on both, then finish with the Issen prompt targeting his legs.
In phase two his attacks are similar but he adds a longer weapon, a slam-then-spin flurry, and a grab. He also enters a Blazing State around half health. Keep parrying the flurries, evade the grabs, and maintain pressure so his stamina cannot recover.
Rasho-gan
Difficulty ◆◆◆◆◇◇
At Yasui Konpiragu Shrine, Rasho-gan poses as a deity built from victims' body parts. He is fought at the end of the mission "Be Careful What You Wish For." His kit mixes a basic sword swing (evade or parry), a long-range downward slash (parryable but better evaded), a giant blood bubble (evade or Deflect back), rapid small blood bubbles (block, parry, Deflect or evade), and a grab where he lunges forward with raised hands — evade into him to punish with heavy damage to health and stamina.
Phase two makes him stronger and more aggressive, so conserve resources through phase one. Defeating him grants the Arm Awakening (Oni Strength), which breaks demonic barriers across Kyoto.
Greater Nue
Difficulty ◆◆◆◆◆◇◇
The Greater Nue, faced at the Kyoto Imperial Palace, is a larger and faster version of the earlier Nue fights. Its sweeping, long-reach patterns punish standing trades, and its grab has a deceptive range. The reliable approach is the same loop as the rest of the game, applied with stricter timing: deflect its strikes, dodge the unblockables, drain stamina, and cash in the break.
Benkei (and Fully Armed Benkei)
Difficulty ◆◆◆◆◆◇◇
The warrior monk Benkei is first fought at Gojo Bridge, and the story later demands a second, harder battle at Rendaino. He is a stamina-check fight: heavy swings and grapples punish careless guarding, so Deflect is the reliable answer. His tells are slow but loud — wait for the swing, deflect, punish. The Fully Armed Benkei rematch adds armour and longer combos, and is a genuine test of whether you have stopped panic-blocking.
Ifuu
Difficulty ◆◆◆◆◇◇
Ifuu, fought within Kennin-ji, is a duel-style enemy whose attacks reward patient Deflect timing over aggression. Learn which strings end with a punishable recovery and convert those windows; forcing the fight on his stamina bar makes the encounter far shorter than trading blows.
Burai
Difficulty ◆◆◆◆◆◇◇
Burai is fought later in the story and again in the rematch arena. The fight emphasises spacing: his attacks cover ground quickly, and Deflect is the counter to his committed swings, while his unblockables need clean dodges.
Ifuu and Burai (The Perfect Storm)
Difficulty ◆◆◆◆◆◆◇◇
The pair appears together in the mission "Storm Chaser" at Kennin-ji, and again as a rematch. This is the game's hardest multi-enemy fight: two duelists whose combined pressure punishes tunnel vision. Keep both in frame, use Deflect to create breathing room, and take the more aggressive one out of the fight first.
Shuten Doji
Difficulty ◆◆◆◆◆◇◇
The oni lord of Mount Oe is the longest single fight before the finale — a multi-phase endurance match. His enraged states escalate the tempo and his weapon reach is punishing, so this is where the full toolkit earns its keep: deflect the committed swings, dodge the arena-wide attacks, and never let the stamina bar refill.
Dokyo
Difficulty ◆◆◇◇◇
Dokyo is a gimmick-driven fight rather than a stand-and-trade duel. She spends most of both phases sprinting around the arena, forcing Musashi to chase, cut off her routes and punish the moments she stops. The low difficulty rating reflects the pattern — once you understand she is never going to fight fair, the win is about positioning, not reflexes.
Minamoto no Yoshitsune
Difficulty ◆◆◆◆◆◆◆◆◆◇
The final boss of the story and the hardest fight in the game. Yoshitsune is fought at the summit of Shana-oh Castle in the mission "The Clash at Rendaino," and his rematch is the arena's ultimate test. Bring heavy restoratives, Stimulants, Sun-Dried Hozukis and Amulets of Introspection. His attack patterns are fast and layered, and the fight punishes every defensive mistake with large damage — the whole game's rhythm, compressed into one duel. After clearing the game on Carnage you receive a weapon that makes this rematch significantly more manageable.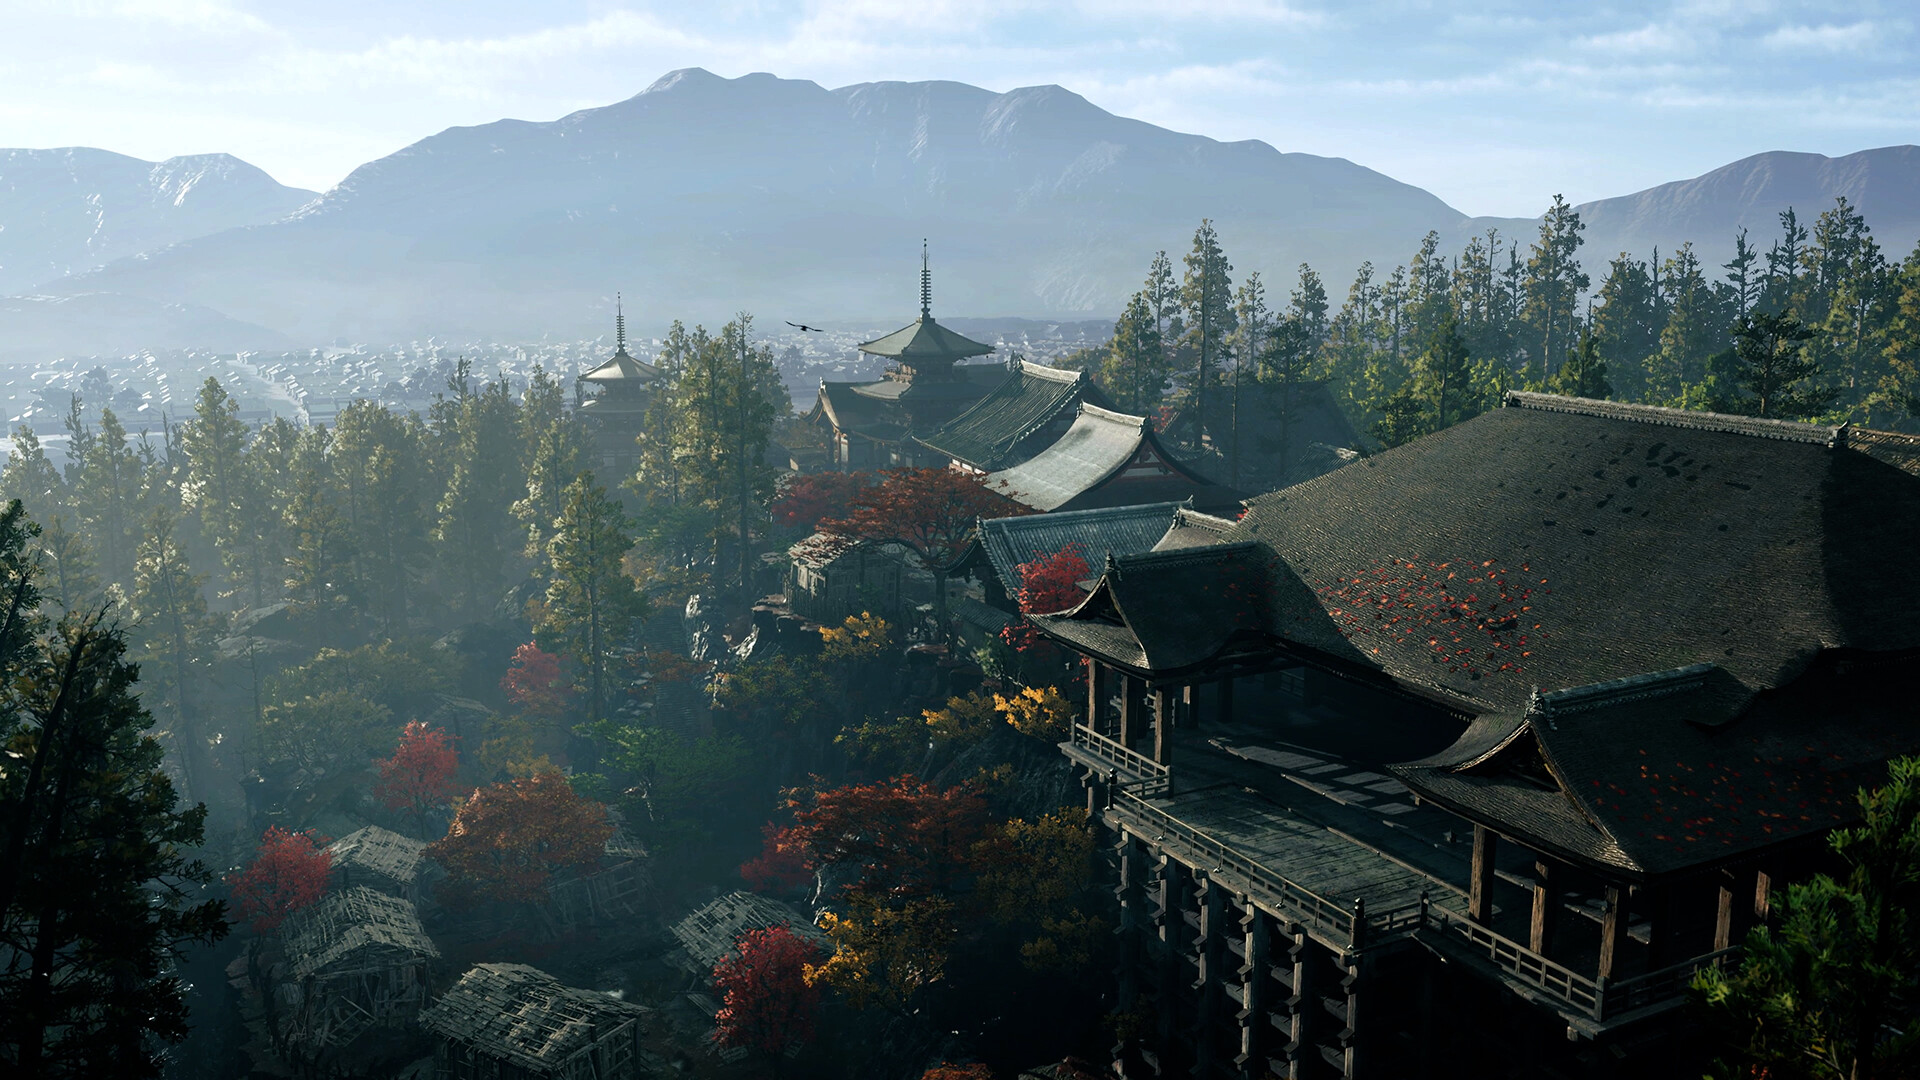
Boss Rematch & the Practice Ground
After reaching the training hall (opened by ringing the bell at Rokudou Chinno-ji), the Practice Ground offers a Boss Rematch mode. Here every story boss can be fought again on your choice of difficulty, in the fixed order shown at the top of this page. The rematch roster includes the enhanced variants — Enhanced Byakue, Enhanced Dohatsu-ten, Altered Sasaki Ganryu, Fully Armed Benkei and the Ifuu-and-Burai pair — which is where the full 18-fight count comes from.
Beating the game on Carnage difficulty unlocks the True Onimusha trophy and grants a weapon that eases the rematch grind. Beating every rematch opponent on all difficulties earns the Glutton for Punishment trophy, the last step of the platinum roadmap.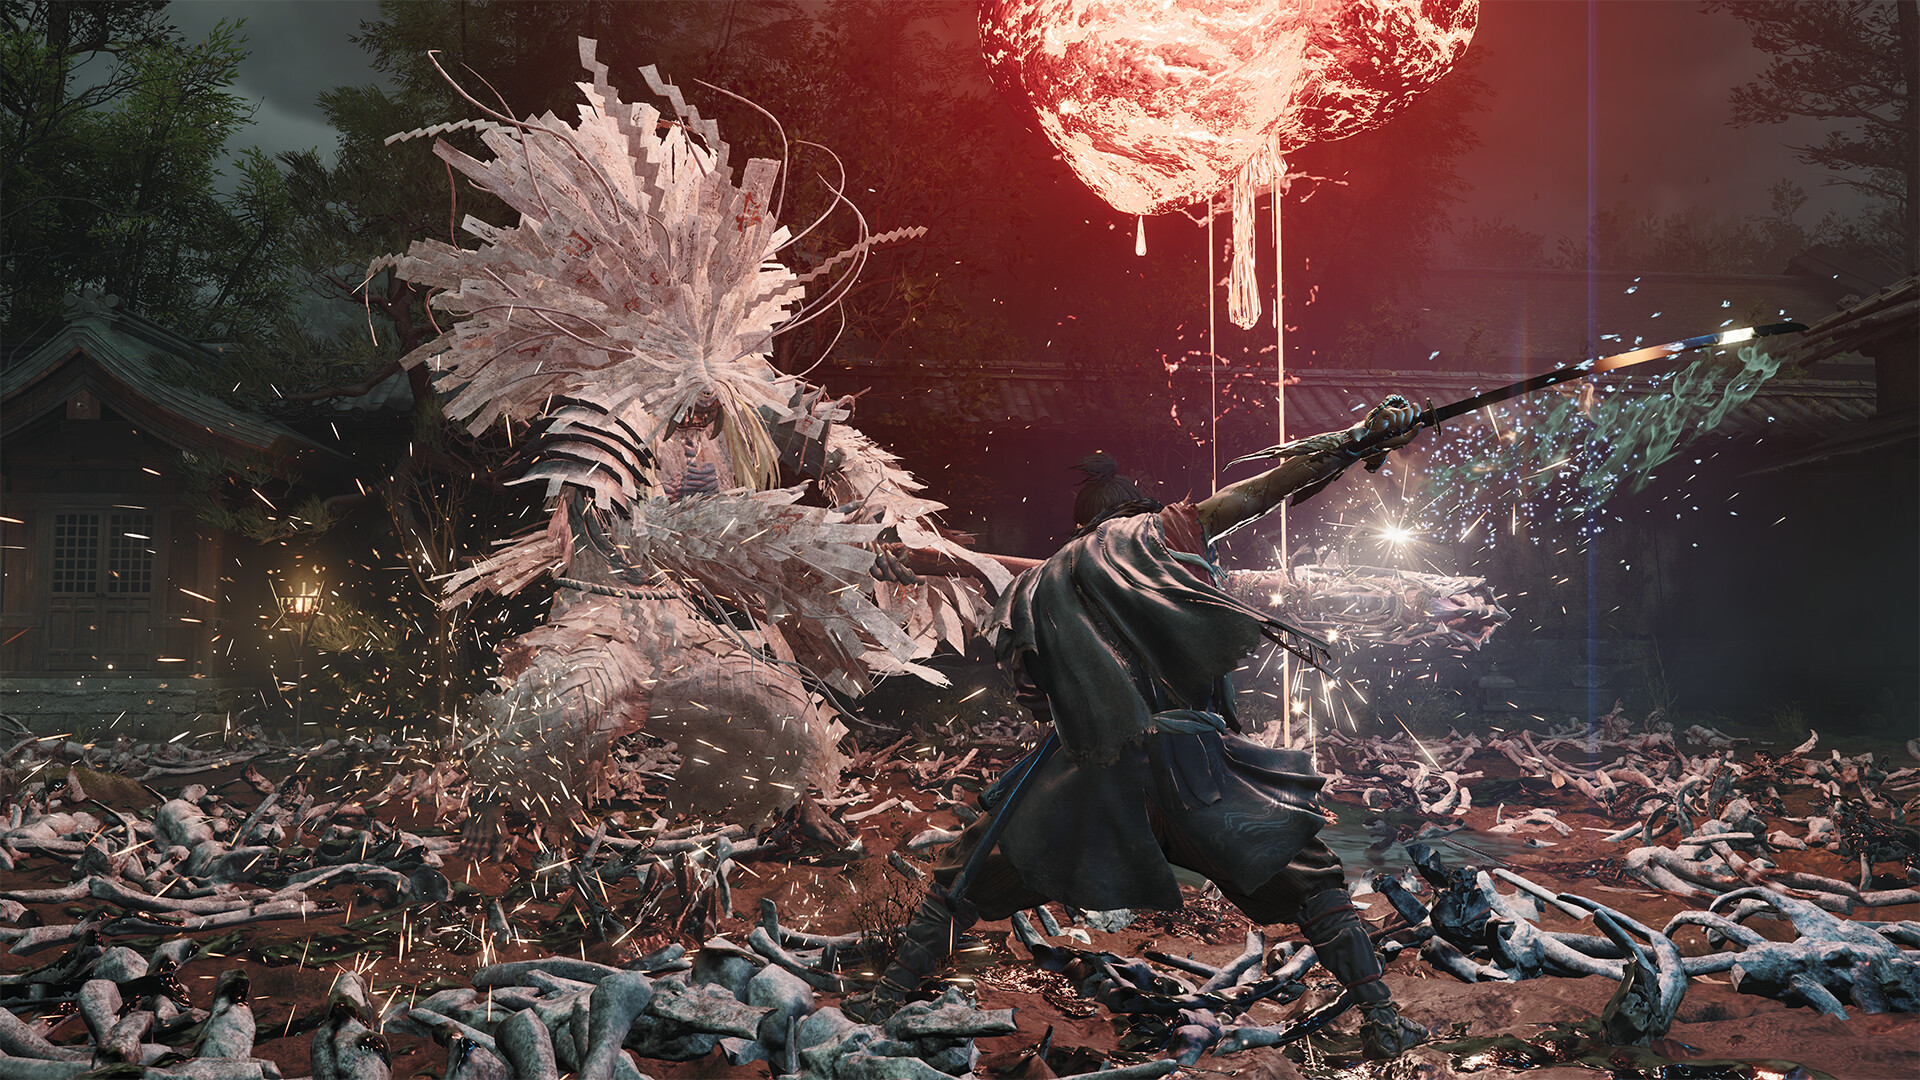
Boss FAQ
How many bosses are in Onimusha: Way of the Sword?
There are 18 main boss fights, counting enhanced and paired variants. The Boss Rematch arena lists all of them in challenge order.
Who is the hardest boss in Onimusha: Way of the Sword?
Minamoto no Yoshitsune, the final boss, is the hardest fight in the game. Among rematches, Altered Sasaki Ganryu is the steepest difficulty spike before the finale.
How do you break a boss's guard in Onimusha: Way of the Sword?
Use Deflect (or perfectly timed parries) to deplete the boss's stamina bar. Once it is empty, a Break Issen prompt appears — land it for heavy damage, or take the soul reward options it opens.
Are any bosses missable?
No. Every story boss can be refought in the Practice Ground's Boss Rematch mode, and no encounter is permanently missable.